Drainage Installation Advice for Landscapes
Multi-Flow in vertical installations
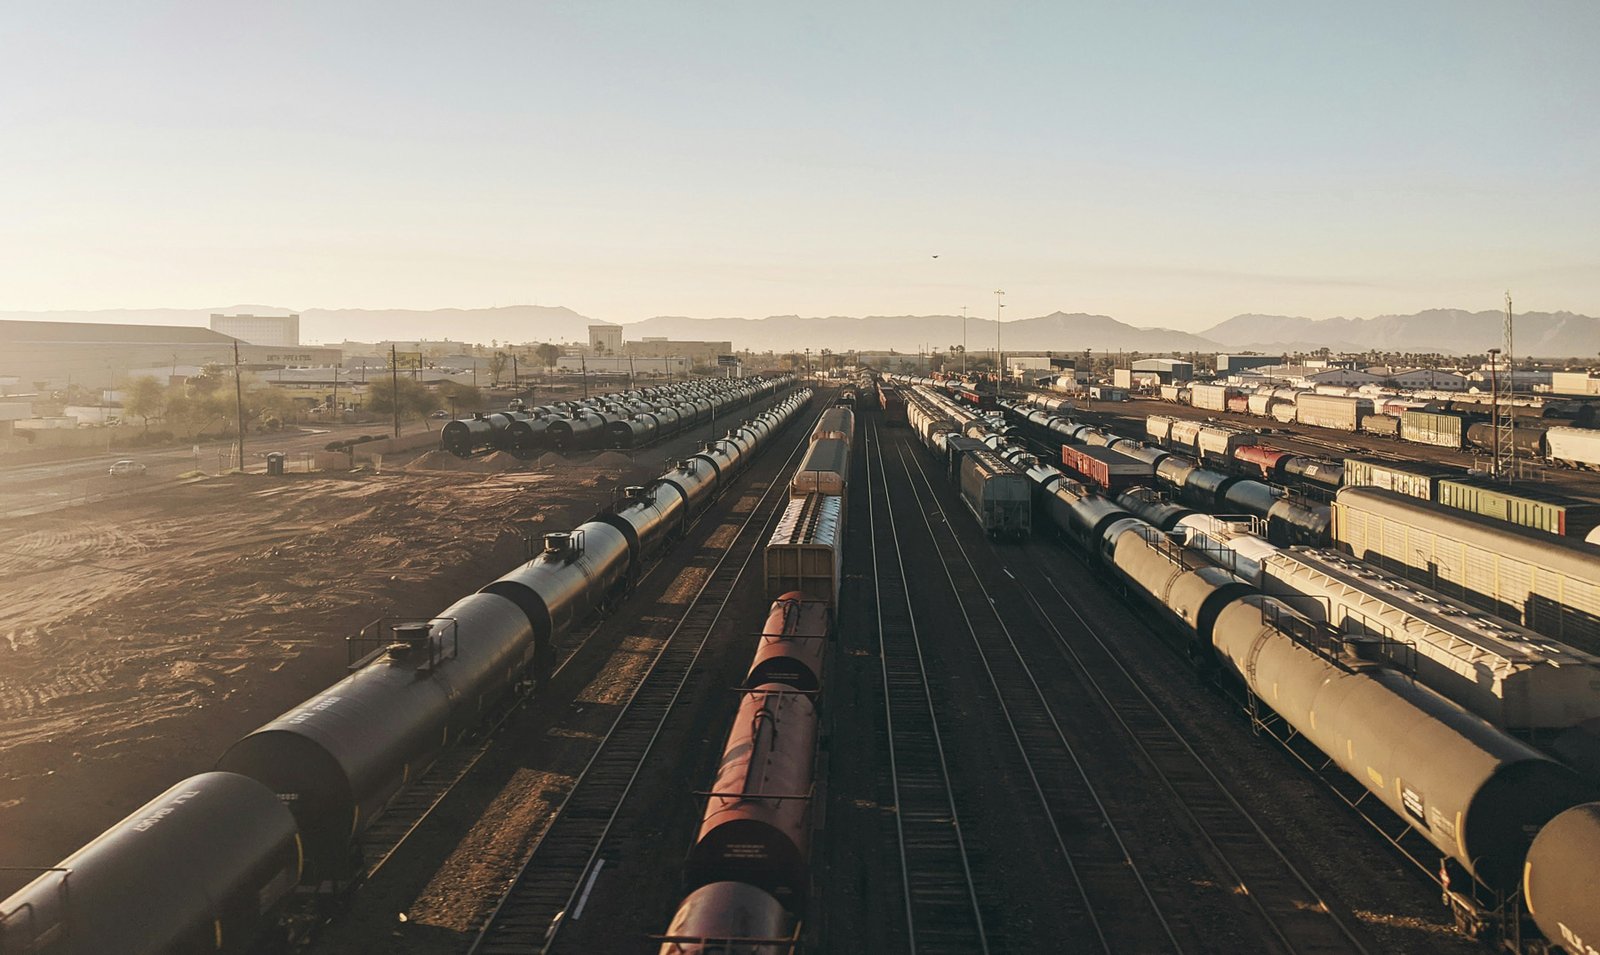
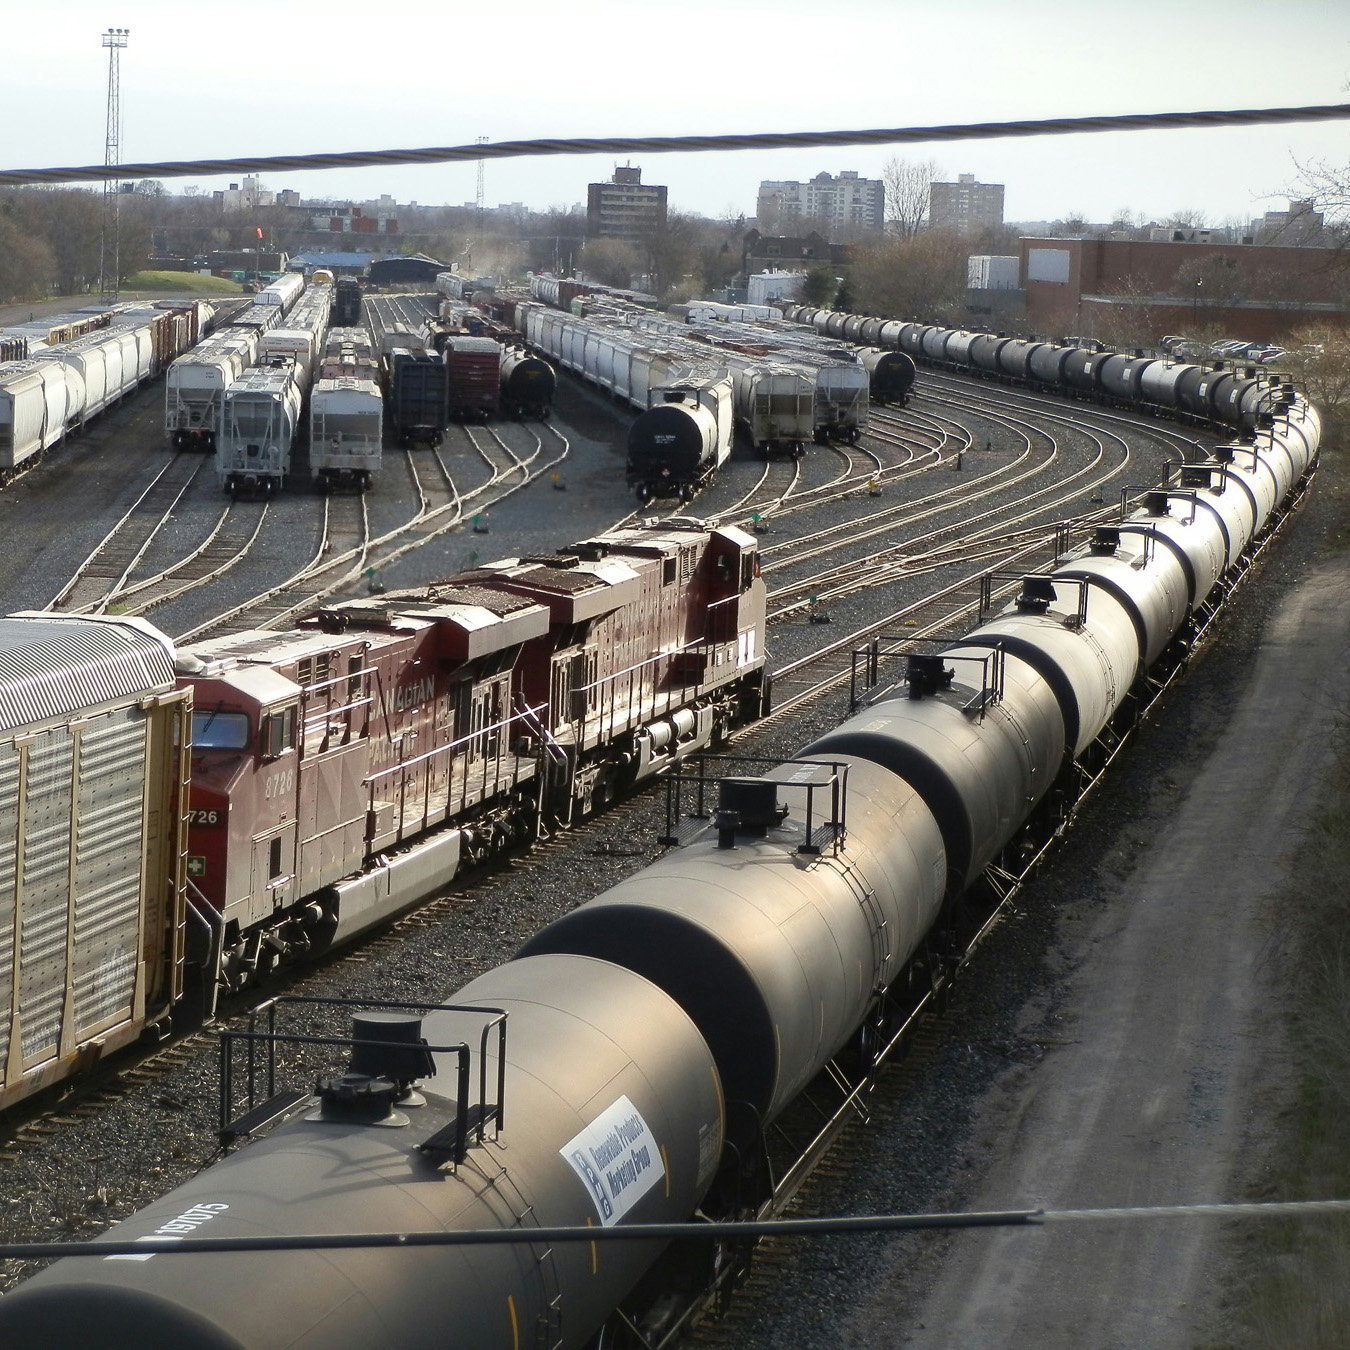
Multi-Flow drainage systems serve exceptionally well in a wide variety of civil projects. It is used beneficially in landfill sites, mine and leach pile settings, desaturation projects, rail lines, railroad yards, storage lagoons, earthen dams, and in decontamination processes.
Equipment needed:
- 4-inch chain trencher and/or trenching spade
- wheelbarrow and/or turf utility vehicle such as a Gator™ or Mule™
- utility knife
- laser level or hand level
- centering devices (optional)
- water hose (optional)
Materials needed:
- appropriate size of Multi-Flow pipe for collector system
- appropriate Multi-Flow connectors
- clean, very coarse, sand
- PVC or ABS pipe for transport system
- PVC or ABS adaptors if needed
- PVC tape
1. Trenching
Plot a path through your problem area to your discharge point marking the path with paint or flags. The discharge point can be a ditch, the street, a catch basin, another drain line or a declining hillside. Begin trenching at the discharge point and proceed toward the highest point of the problem area. Stop periodically to ensure that you are maintaining proper grade. Remove all excavated material from the site.

2. Laying out your drain
Roll out your drain along side the trench. At the ends, pull back the geotextile filter and snap the connectors in place. They slip on more easily if you pre-stretch them. Push fittings, such as end caps, couplers, side outlets or end outlets, firmly over the pipe to ensure a secure fit. Then pull the fabric over the fitting and hold it in place with wide water-proof tape. This ensures that soil will not enter behind the fabric and block the drain core.
3. Connecting to transport system
Smooth, solid, rigid pipe makes for the most reliable transport system. 3-inch pipe is used with 6-inch Multi-Flow; 4-inch pipe is used with 12 and 18-inch Multi-Flow.
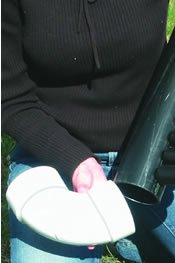
Frequently connection to the transport system will be made with a multi-purpose connector. Most commonly this will be a 0600M, 1200M, or 1800M. These connectors empty from the bottom. A standard PVC or ABS elbow or tee can be slipped over the Multi-Flow connector. Pipe glue will ensure a lasting connection.
In some situations it is best to discharge the water through an end outlet or side outlet. In these cases, cut the plastic membrane covering the opening of the outlet. Cut the hole so that the exit pipe fits snugly and is located at the bottom of the fitting. Insert the exit pipe into the opening and seal the joint using wide waterproof PVC tape.


4. Backfilling
Use clean very coarse sand to fill the trench. Hold Multi-Flow in the center of the trench while backfilling. Bring the sand to the surface or near to it. Jetting the sand-filled trench with water will help to settle the sand in place quickly. The trench can be topped off with topsoil or rock. Never cap the trench with clay or other dense material.
Multi-Flow in horizontal installations
Connectors – Not only are Multi-Flow connectors easy to use, there are a lot of them. Any configuration that is appropriate for a given site can be carried out using one or more of the 60 Multi-Flow connectors.
Equipment needed:
- spade and/or walk behind loader
- wheelbarrow and/or turf utility vehicle
- utility knife
- laser level or hand level
Materials needed:
- appropriate size of Multi-Flow pipe for collector system
- appropriate Multi-Flow connectors
- clean, very coarse, sand
- PVC or ABS pipe for transport system
- PVC tape
1. Trenching
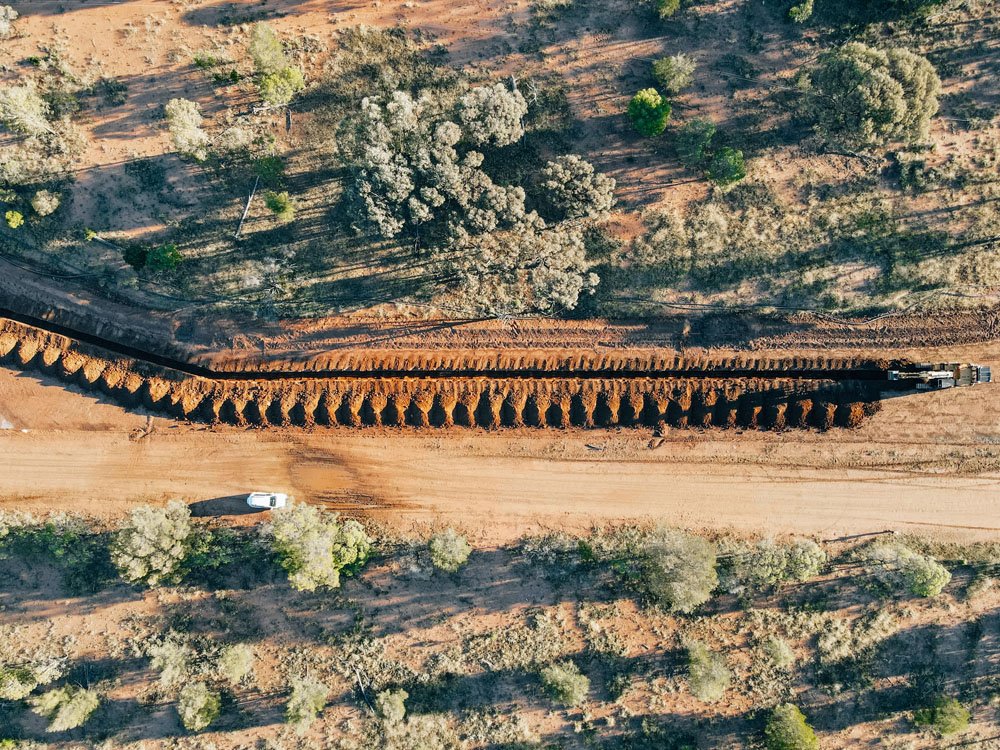
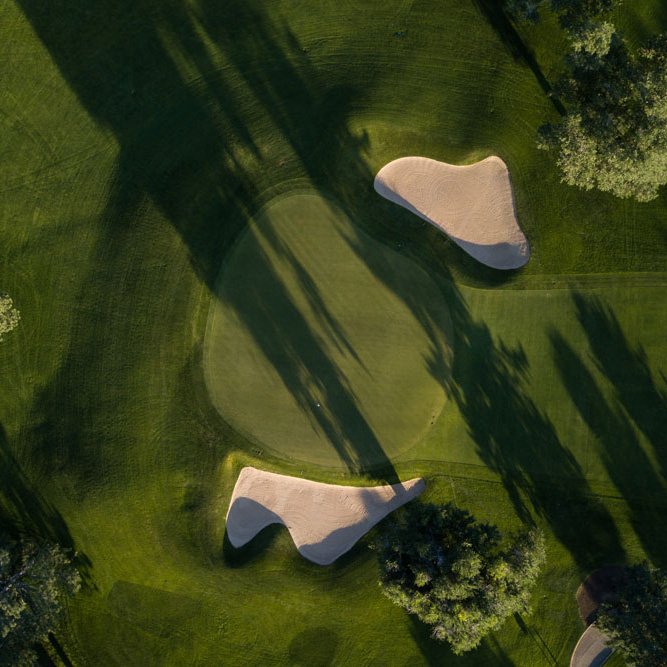
Usually horizontal installations do not require trenching. When used in new constructions settings such as in planters, under playground equipment, in golf greens, or under synthetic turf, Multi-Flow is laid out over the prepared site prior to bringing in fill. Mark a path from the system high point to the discharge point. The discharge point can be a ditch, the street, a catch basin, another drain line or a declining hillside. If trenching is required, use a walk behind loader and begin excavation at the lowest point and proceed toward the highest point. Maintaining grade is especially critical in horizontal installations. Remove excavated material from the site.


2. Laying out your drain
Roll out your Multi-Flow drain. At the ends, pull back the geotextile filter and snap the connectors in place. They slip on more easily if you pre-stretch them. Push fittings, such as end caps or couplers firmly over the pipe to ensure a secure fit. Then pull the fabric over the fitting and hold it in place with wide water-proof tape. This ensures that soil will not enter behind the fabric and block the drain core.
3. Connecting to the transport system
Smooth, solid, rigid pipe makes for the most reliable transport system. 3-inch pipe is used with 6-inch Multi-Flow; 4-inch pipe is used with 12 and 18-inch Multi-Flow.
Connection to the transport system will usually be made with a multi-purpose outlet (taking in water from one side) or a multi-purpose connector (taking in water from two sides). In the 6- inch line, horizontal double wyes and horizontal crosses also make good outlets. A standard PVC or ABS elbow or tee will slide onto the Multi-Flow connector. Pipe glue will ensure a lasting connection. Side outlets are also occasionally used for this.


4. Backfilling
Use clean very coarse sand to cover the Multi-Flow drain. One to 2 inches of sand should be spread over the drain and sand should extend 3 to 6 inches on each side of the Multi-Flow. Never bring in fill containing clay or other dense material. See Selecting Backfill Material for more information on this topic.
Strength – Multi-Flow is designed to withstand heavy loads. Able to withstand loads well in excess of 6,000 psf, Multi-Flow is not going to collapse due to heavy surface loads in shallow installations or due to earth weight in deep installations.
Longevity – The Multi-Flow system includes a heavy effective geotextile filter. This high quality fabric acts as an excellent secondary filter, keeping Multi-Flow’s flow channels clean and open. Clean coarse sand acts as a very effective primary filter. Due to its shape, Multi-Flow is easily encased in sand, assuring a long life. When placed in a 4 inch wide trench or laid horizontally and covered with a band of sand, Multi-Flow is readily protected in this way.
Comparing vertical and horizontal installations If a trench is needed, vertical is the orientation of choice. A 4 inch wide trench is ideal. Multi-Flow can be installed horizontally where construction requires the top soil to be stripped away. In these cases, Multi-Flow is rolled out horizontally and the time and cost of trenching can be by-passed. Examples of this profile might be in landfill sites or under leach piles.

LANDSCAPES


ATHLETIC FIELDS

GOLF COURSES


PAVED SURFACES


Reach Us
Manufacturing Facility:
15 6th St
Prinsburg, MN 56281
1.800.978.8007
service@varicore.com
Multi-Flow and Multi-Flow LDVS are property of Varicore Technologies, Inc.
The information contained on this site, including technical drawings, illustrations, pictures, diagrams, etc., are for recommendation only.
It is sole responsibility of determine correct suitability and usage of materials on project.
Web Site Design & Development by Gilmour Creative.

